How to setup Fusion 12C Application(HCM/CRM/Finance/Supply-Chain)
B. IDM Installation
1. Install FA provisioning framework2. Install IDM Database
3. Run Repository Creation Utility (RCU) for IDM
4. Install Identity Management Provisioning Wizard
5. Create IDM provisioning Response File
6. Provision Identity Management
7. Perform Post-Provisioning Configuration
7. Perform Post-Provisioning Configuration
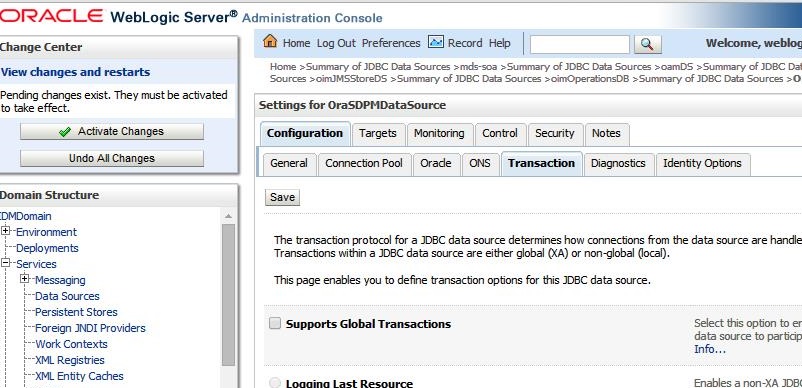
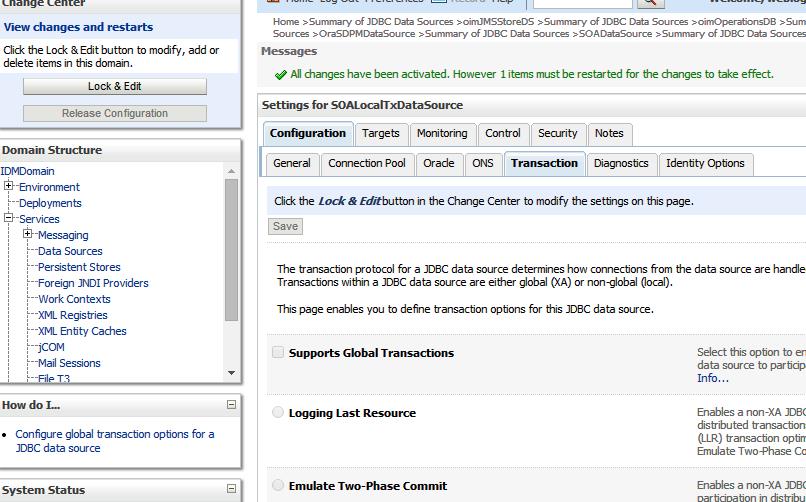
A. Deselect Supports Global Transactions
Login to IDM using admin(weblogic_idm)-> http://fusion.local.lab:7777/consoleLock & Edit
Navigate to Services -> Data Sources
Click on the data source to be updated, for example, EDNLocalTxDataSource
Click the Transaction tab
Deselect Supports Global Transactions if not already deselected
Click Save (We had to change the checkbox only or oamDS. All other were already deselected)
Repeat Steps for all the listed datasources
Click Activate Changes
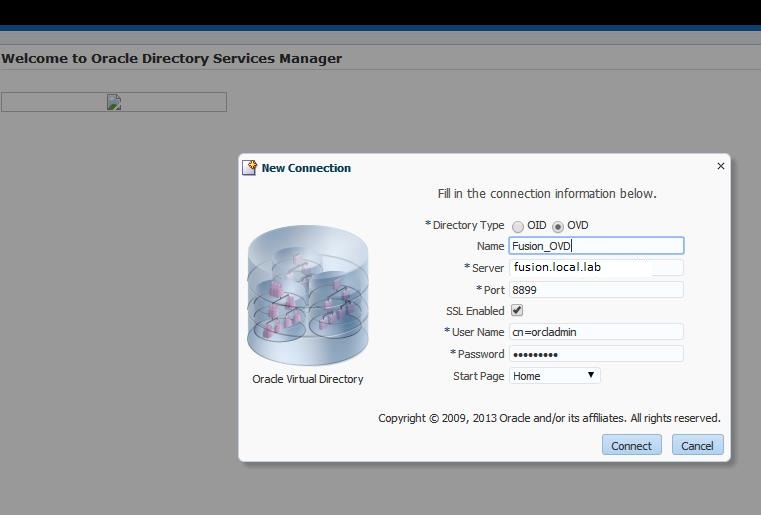
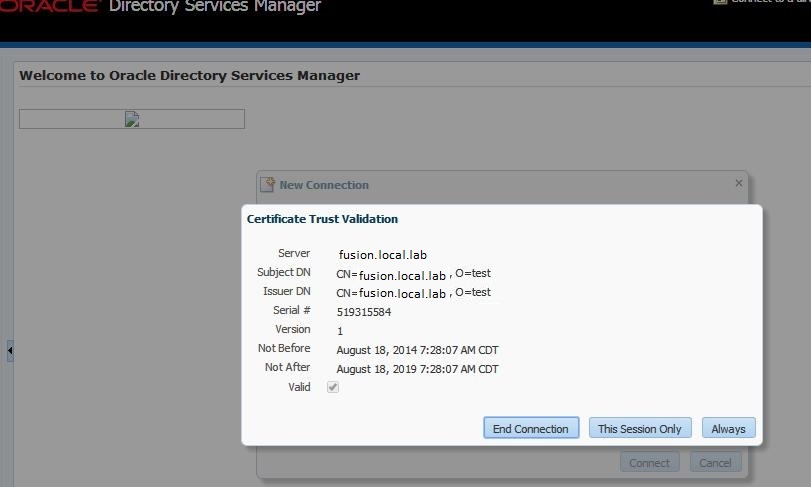
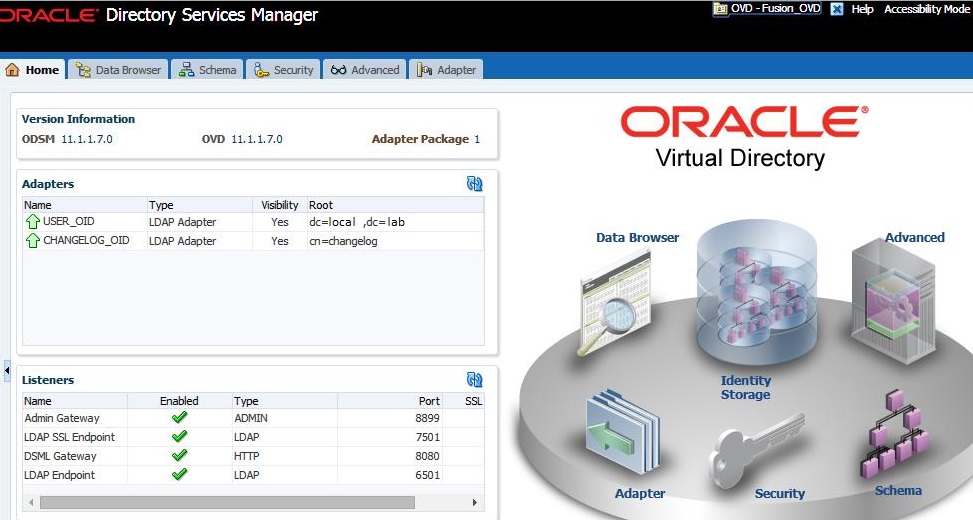
B. Creating ODSM Connections to Oracle Virtual Directory
Login to -> http://fusion.local.lab:7777/odsmTo create connections to Oracle Virtual Directory, follow these steps. Create connections to each Oracle Virtual Directory node separately.
Create a direct connection to Oracle Virtual Directory on idmhost providing the following information in ODSM:
Host: fusion.local.lab
Port: 8899 (The Oracle Virtual Directory proxy port, OVD_ADMIN_PORT)
Enable the SSL option.
User: cn=orcladmin
Password: Oracle123

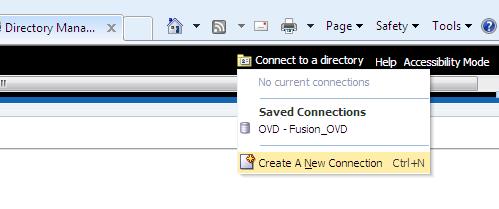
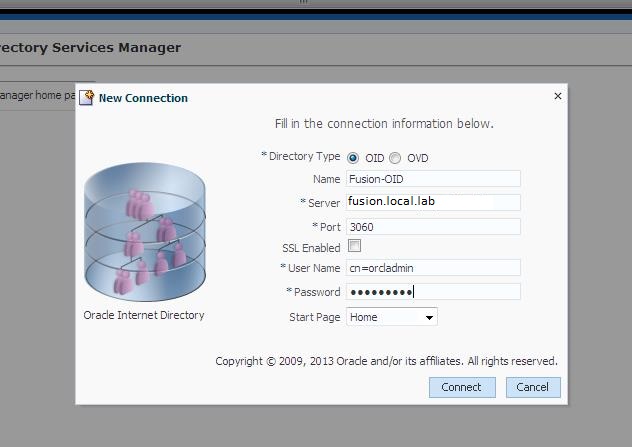
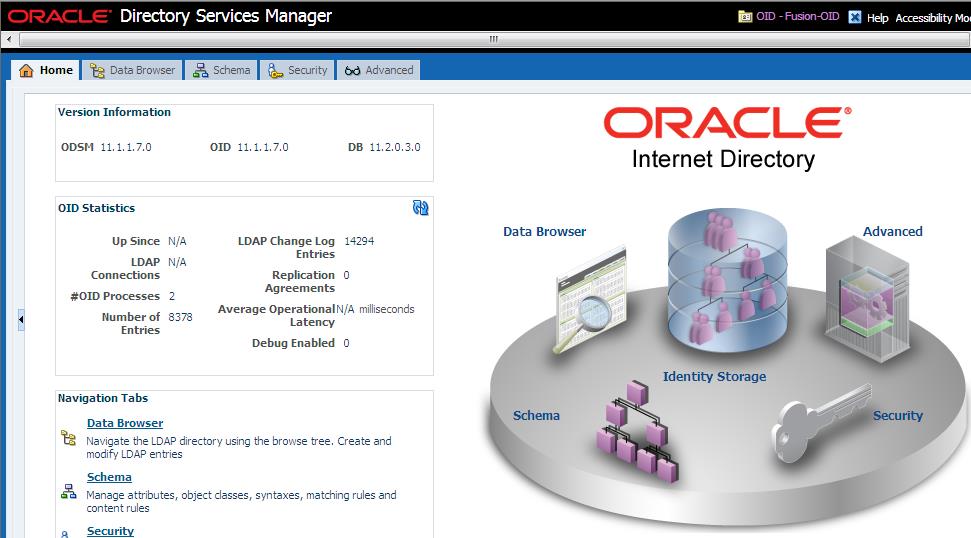
C. Creating ODSM Connections to Oracle Internet Directory
http://fusion.local.lab:7777/odsm/Create a direct connection to Oracle Internet Directory on idmhost providing the following information in ODSM:
Host: fusion.local.lab
Port: 3060
Deselect the SSL option.
User: cn=orcladmin
Password: Oracle123
D.Post-Provisioning Steps for Oracle Identity Manager
Perform the following task to ensure that Oracle Identity Manager works correctly after provisioning.Add an Oracle Identity Manager Property
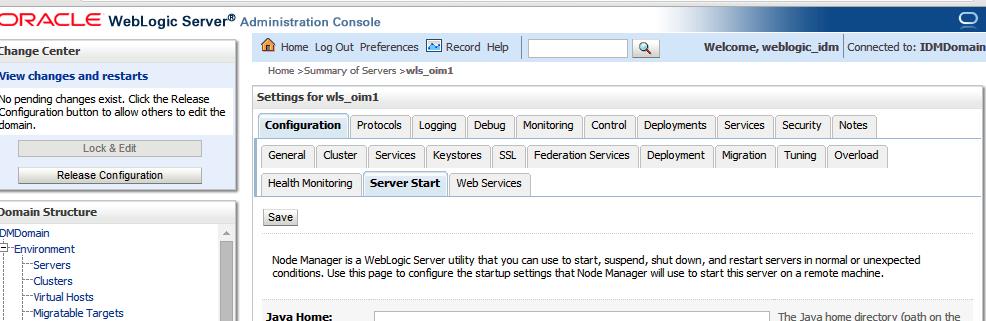
http://fusion.local.lab:7777/console
Navigate to Environment -> Servers
Click Lock and Edit
Click on the server wls_oim1
Click on the Server Start subtab
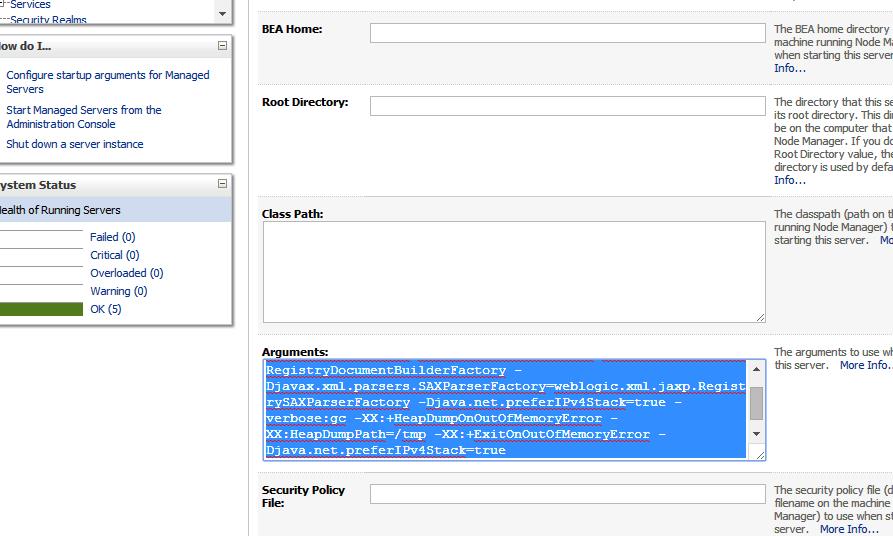
Add the following to the Arguments field:
-Djava.net.preferIPv4Stack=true
It will be like
-Djps.subject.cache.key=5 -Djps.subject.cache.ttl=600000 -Djavax.xml.parsers.DocumentBuilderFactory=weblogic.xml.jaxp.RegistryDocumentBuilderFactory -Djavax.xml.parsers.SAXParserFactory=weblogic.xml.jaxp.RegistrySAXParserFactory -Djava.net.preferIPv4Stack=true -verbose:gc -XX:+HeapDumpOnOutOfMemoryError -XX:HeapDumpPath=/tmp -XX:+ExitOnOutOfMemoryError -Djava.net.preferIPv4Stack=true
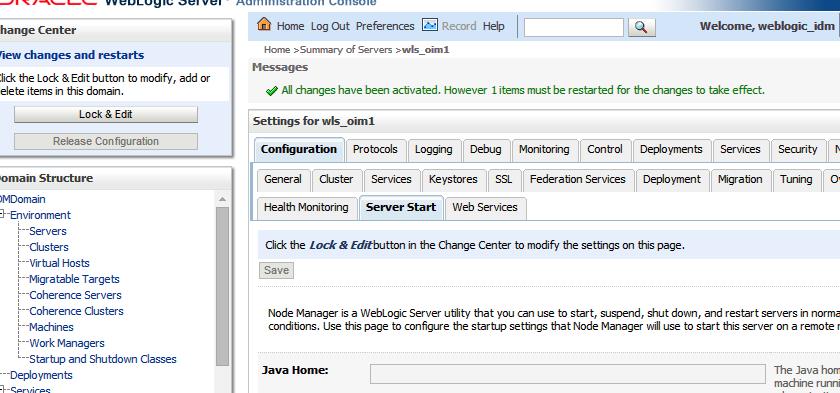
Click Save.
Click Activate Changes.
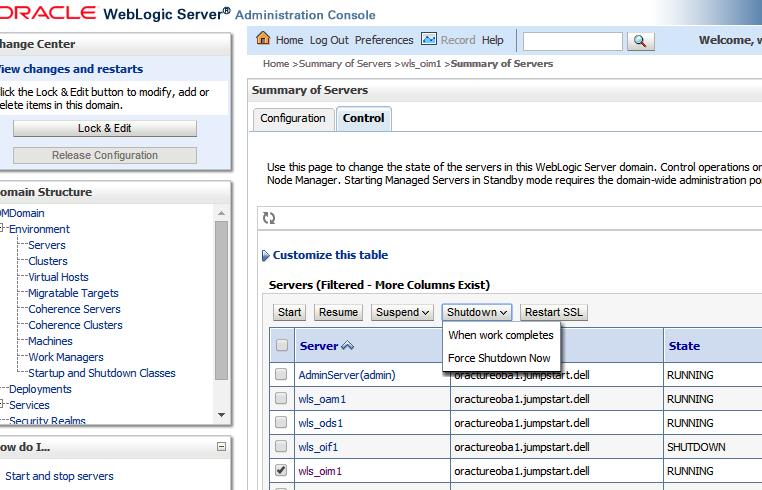
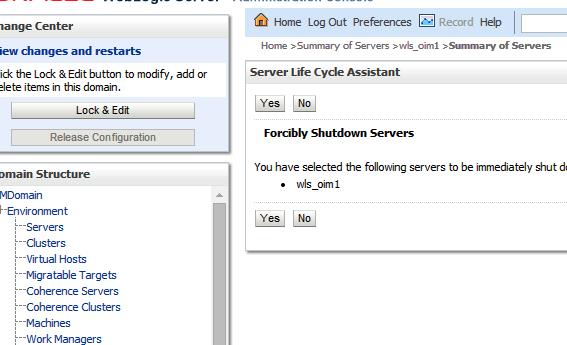
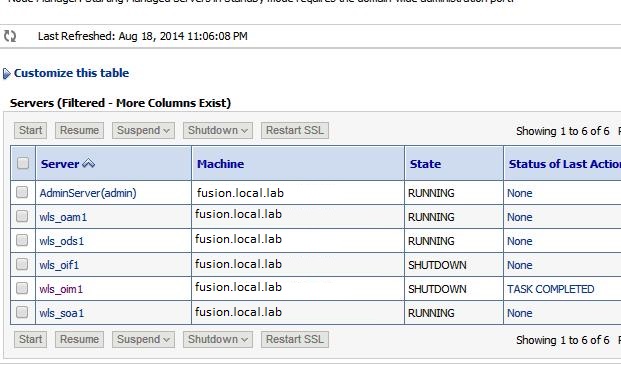
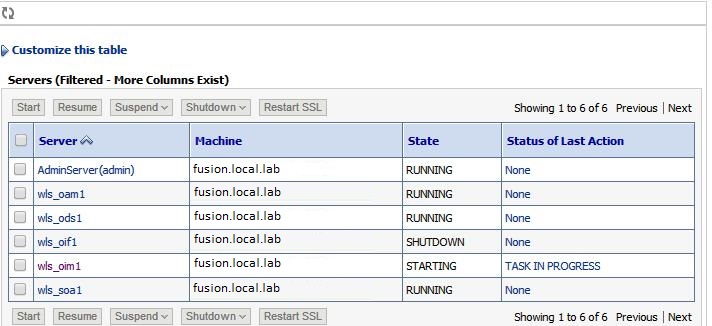
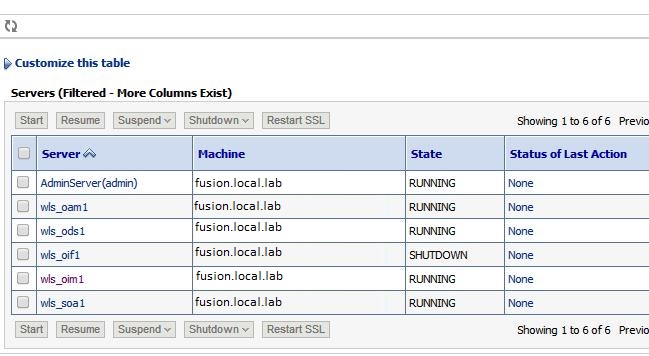
Restart the managed server wls_oim1
E. Post-Provisioning Steps for Oracle Access Manager
Updating Existing WebGate AgentsUpdate the OAM Security Model of all WebGate profiles, with the exception of Webgate_IDM and Webgate_IDM_11g, which should already be set
http://fusion.local.lab:7777/oamconsole
oamadmin/Oracle123
This completes the IDM setup. Take the full file system and DB backup for IDM at this stage